
Water Mold Controller Installation Checklist
Prepare utilities, water, electrical requirements, and safety records before installing a TMC Series water-type mold temperature controller.

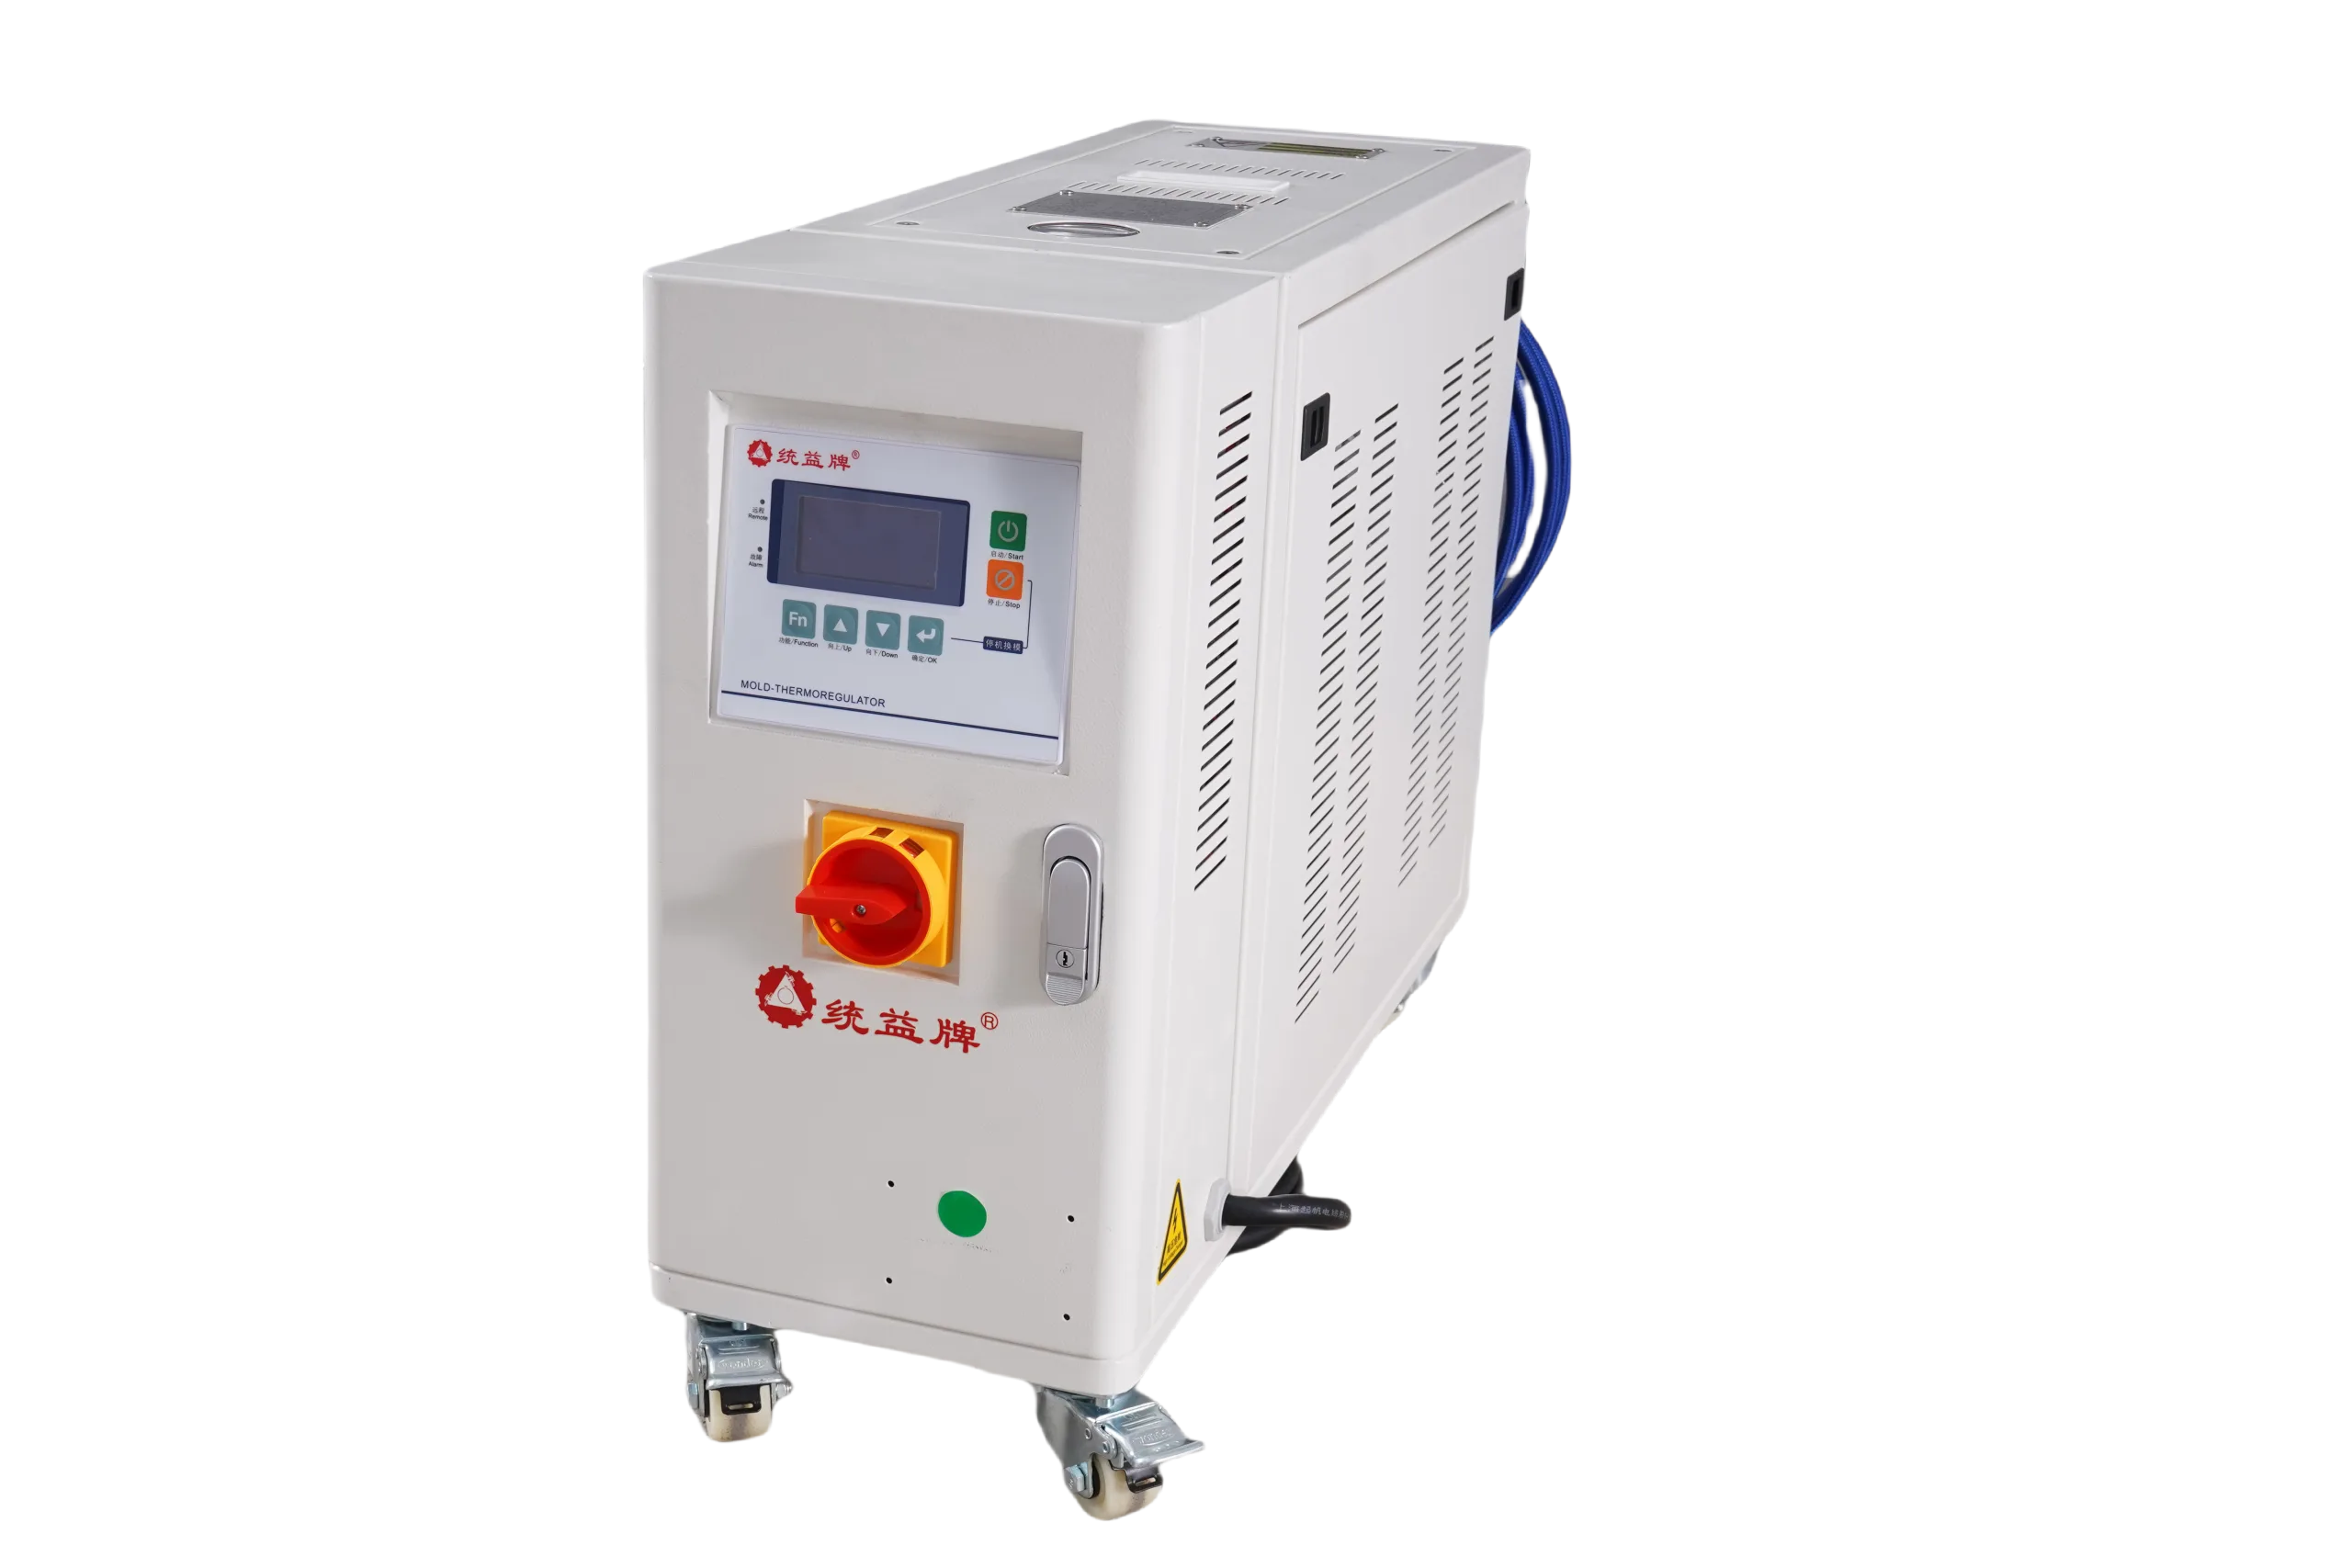
A water type mold temperature controller installation checklist should confirm three things before power-up: that the unit’s overtemperature, pump-overload, and low-water protections are wired and tested, that clean water is available for the heater and mold circuit, and that supply-side details such as voltage, piping connections, and clearances have been verified against the site manual and the supplier’s documentation. Work through each item in order, and do not energize the heater until the water circuit is filled and circulating.
Why does a structured installation checklist matter?
Site preparation is one part of installation planning. Check the required water connections, electrical supply, access, and documentation against the supplier instructions and your plant standards before the unit arrives.
Follow the supplier instructions for filling, flushing, venting, and connecting the water circuit. The product page lists clean water as the medium but does not specify a universal water-treatment or installation procedure.
What should you confirm with the supplier before delivery?
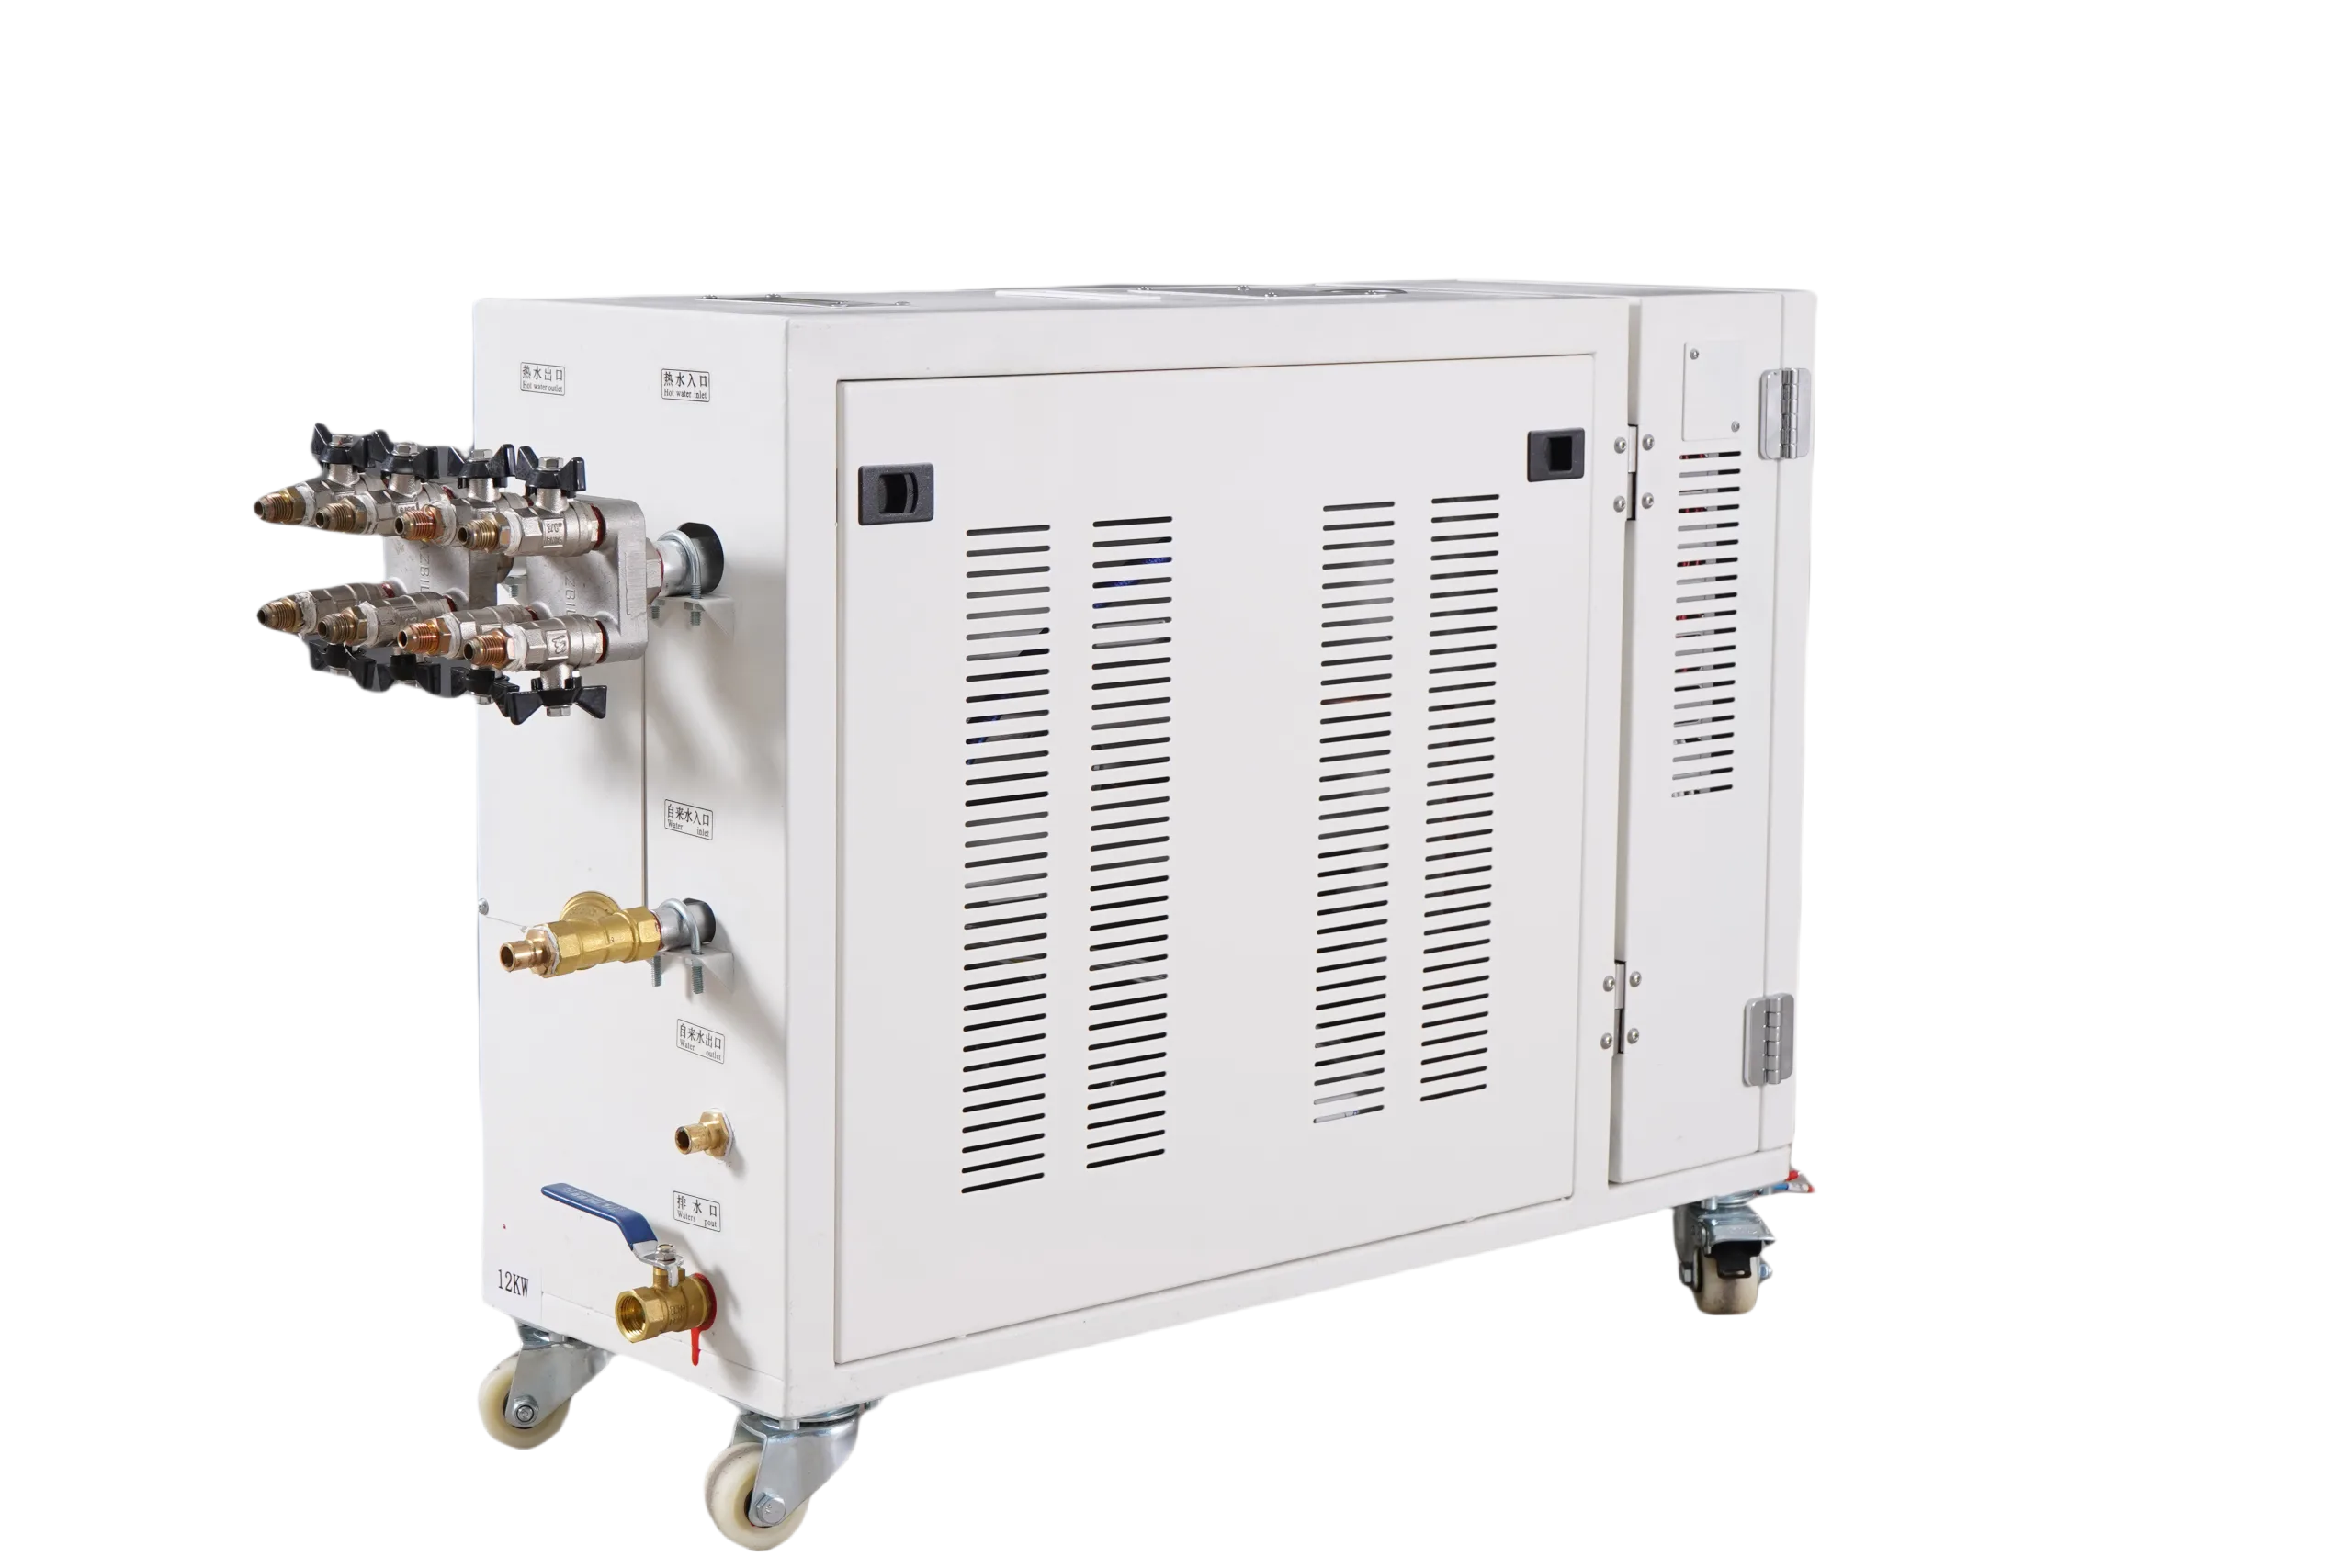
Resolve these questions with the supplier before shipment. Doing so can surface missing site information while the installation plan is still being prepared.
- Protection configuration: Confirm exactly how the overtemperature, pump-overload, and low-water protections are wired, and what each one does when it trips (shutdown, alarm only, or both).
- Water requirements: Confirm that the unit is specified for clean water and ask what the supplier recommends for fill, makeup, and any treatment on your side.
- Electrical supply: Have the supplier confirm the required supply in writing, and match it against your plant’s available circuits. Do not assume it matches other units on your floor.
- Piping interfaces: Get the connection points for the mold circuit and the water supply so your piping crew can pre-fabricate runs before the unit arrives.
- Documentation: Request the installation and operation manuals ahead of delivery so your maintenance team can prepare, not react.
What site preparations must be complete before the unit arrives?
Site readiness is where the checklist earns its keep. Before delivery day, your plant maintenance team should have:
- A level mounting location with the clearances specified in the supplier’s manual — verify the actual figures in that document rather than copying spacing from another machine.
- An electrical disconnect and circuit rated and verified for the unit, with lockout/tagout provisions in place.
- Piping routed to the mold circuit with isolation valves at the unit, so the controller can be serviced without draining the whole loop.
- A water source that meets the clean-water requirement, with filtration if your supply history warrants it.
- A drain path for servicing and winterization, if applicable.
What does a step-by-step installation sequence look like?
Once the unit is in position, follow this sequence. Each step depends on the one before it.
- 1. Mount and level the unit. Set it in place, level it, and secure it per the manual’s mounting instructions.
- 2. Connect the water circuit. Attach supply and mold-circuit piping, confirm every joint is tight, and flush the loop before connecting the mold if the piping is new.
- 3. Fill the system. Fill with clean water and vent trapped air. The low-water protection should confirm adequate level before anything else proceeds.
- 4. Verify electrical connections. Check supply wiring against the documentation, confirm grounding, and verify that the overtemperature and pump-overload protections are correctly terminated.
- 5. Test the protections. Before production, confirm that the low-water, pump-overload, and overtemperature protections each respond as documented. This is the single most skipped — and most important — step.
- 6. Run and stabilize. Start the pump, establish circulation through the heater and mold circuit, then bring the heater up gradually while watching for leaks, unusual noise, or unstable readings.
Record the as-installed condition — connection points, protection settings, and water source — so the baseline exists for future maintenance.
How do water units compare with other setup demands at install time?
If your plant runs multiple temperature control technologies, the checklist items differ in emphasis. The table below compares where attention shifts at installation:
| Checklist area | Water type mold temperature controller | What your team must verify |
|---|---|---|
| Heat transfer medium | Clean water circulating through the heater and mold circuit | Water quality, fill and venting procedure, makeup supply |
| Safety protections | Overtemperature, pump-overload, and low-water protection | Correct wiring of each protection and a tested trip response before production |
| Piping | Mold circuit plus supply and drain connections at the unit | Isolation valves, flush of new piping, documented connection points |
| Electrical | Supply per the supplier’s written specification | Circuit rating, disconnect, grounding, lockout/tagout |
For a water-type unit, include the water circuit in the site review along with electrical supply, access, and required protections. Use the current drawing and installation manual for the model being ordered.
What capability should you expect from the equipment itself?
For the TMC Series, the product page lists a clean-water medium and protections for overtemperature, pump overload, and low water level. Confirm the installation steps, connection details, and protection behavior in the manual for the exact model.
When comparing suppliers, ask which protections are standard, how they are documented, and whether commissioning support or startup guidance is available. A supplier who can walk your technician through protection testing is a supplier who has seen these installations before.
What should you do next?
Turn this checklist into a site-specific document: add your plant’s verified electrical and water data, the supplier’s actual clearance and connection figures, and sign-off lines for each step. Then request the installation manual and protection specifications from your supplier before the unit ships. If you are evaluating a water type mold temperature controller for an upcoming installation, contact the manufacturer’s technical team with your supply conditions and mold circuit details so the unit and documentation arrive matched to your site — not the other way around.
Frequently asked questions
What protections must be tested before startup?
Review the overtemperature, pump-overload, and low-water protections against the equipment manual. Confirm how each is intended to respond and use only the manufacturer-approved procedure for functional checks; do not simulate a fault by bypassing a protection.
What kind of water should be used in the system?
Water units of this type are designed for clean water circulating through the heater and mold circuit. Verify your plant water quality against the supplier’s requirements, use filtration where your supply history warrants it, and flush new piping before filling so debris never enters the heater or mold circuit.
When should the heater be energized during installation?
Only after the water circuit is fully filled, vented, and circulating. The low-water protection should confirm adequate level first, then start the pump and establish flow through the heater and mold circuit before gradually raising the heater setpoint while watching for leaks or instability.
Who should perform the installation and commissioning?
A qualified installation technician or plant maintenance team member working from the supplier’s installation manual, with a licensed electrician handling supply connections where required by local code. Follow your facility’s lockout/tagout procedures throughout, and document the as-installed condition for future maintenance reference.
See the Water Type Mold Temperature Controller TMC Series page for the published model specifications.
Last updated: October 30, 2026